
Culling is a necessary part of nearly every photographic workflow, and it’s especially important if you want to display your best photos or send photos to clients. But it’s also very time-consuming: culling a batch of 1000+ photos can take hours, and once you’re done with culling, you still have to edit your final picks before you can export the files for printing, sharing, online purchase, etc.
So culling matters, but it’s often a chore.
For a long time, I approached my photography culling in a slow, haphazard, unstructured way. As a result, I procrastinated on photo editing, I rarely shared my best photos with my audience, and I had an ever-growing backlog of images that never got the review they deserved.
Also, while much of my photography is in the fine-art space, I do undertake some client-focused projects. Due to my culling inefficiency, my photoshoot turnaround times became longer and longer, and my clients were not pleased. I was stressed, my work was becoming more and more difficult, and something had to change. So I sat down, did a lot of research, and revamped my culling workflow completely. Here’s what I discovered along the way:
There are certain techniques—as well as specific software programs—that’ll help you cull photos effectively without requiring hours upon hours of dedicated work. And in this article, I walk you through it all, starting from the basics (what culling actually is), proceeding through the culling techniques that I’ve often found helpful, and then offering recommendations for even faster culling using AI. I close with a handful of additional tips and tricks that’ll ensure better results when culling your catalog (they’ve worked for me!).
Let’s dive right in.
What Is Culling, and Why Does It Matter?
Culling is the part of the photo-management process where you select your best photos from a larger batch of files.
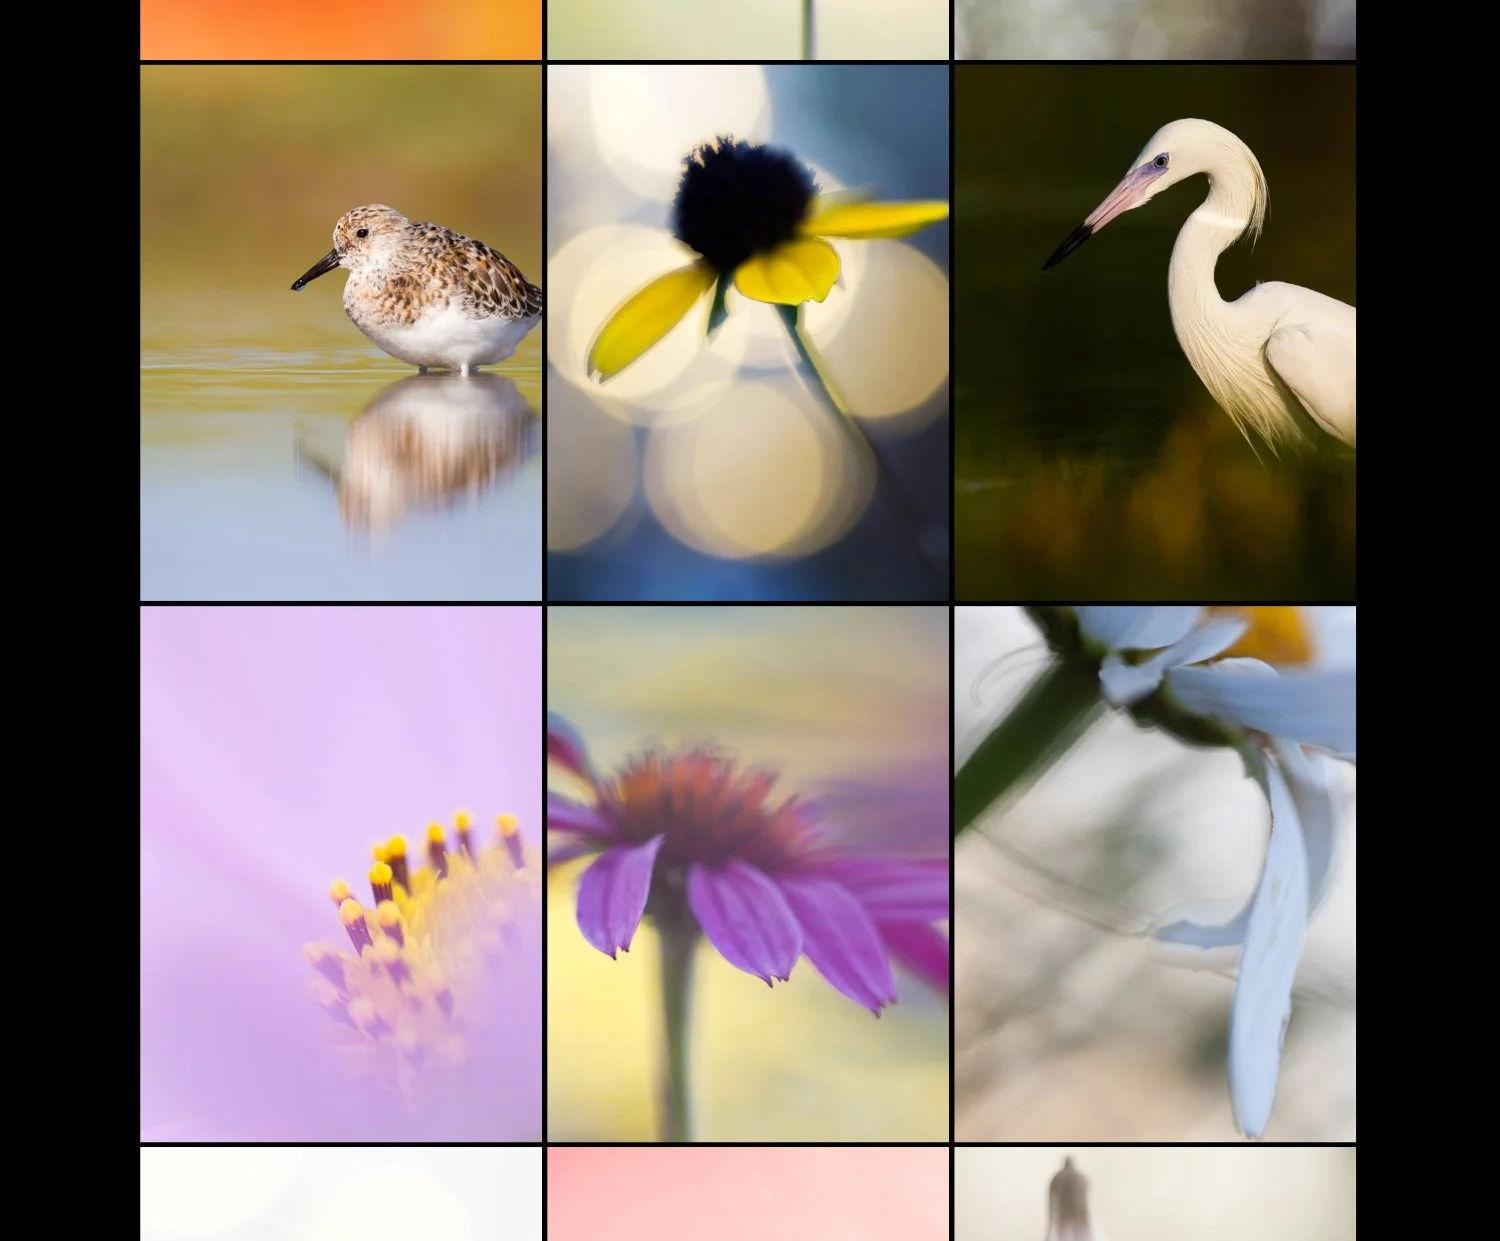
Maybe you did a portrait session for a client. You took 850 images, and you now need to identify the 30 “keepers” for editing (and eventual presentation to the client). Or maybe you went on a week-long safari where you regularly used burst mode to photograph wildlife. You brought home 12,000 photos, but you only want to display a small fraction on social media (and an even smaller fraction in your online portfolio).
Getting from your larger set of files to the final keepers is what culling is all about.
And as I emphasized above, culling your photos matters a great deal. If you skip culling and just give your client the entire set of 850 images, they’ll be overwhelmed and won’t be able to get sufficient value from the images. Plus, your client certainly won’t be impressed by your work, since a huge portion of the shots will be poorly exposed, blurry, badly composed, and so on.
The same is true of your social-media audience and your website audience. If you share 12,000 safari images of inconsistent quality, you won’t be viewed as an especially talented wildlife photographer—and your existing fans will likely be bored by the onslaught of near-identical lion, giraffe, hyena, and elephant photos.
Culling helps you put your best foot forward as a photographer. Everyone takes bad photos, but through culling, you can identify your best shots, then apply image-enhancing edits, and then send that small set of amazing images to your client or out into the world.
Bottom line: Culling is an essential part of any photo-management workflow. But it’s often a daunting undertaking, and without the proper approach, you may find yourself wasting huge amounts of time sitting in front of the computer. Fortunately, I’ve tried plenty of workflows and made plenty of mistakes, and I can now share the photo-culling method I’ve found to be highly effective:
How to Cull Your Photos Efficiently and Effectively (My Step-By-Step Process)
Let me start by emphasizing that there’s no best way to cull photos. Different photographers have their own preferences, including me—so if the culling process I share below doesn’t work for you, that’s completely okay. Do what works best for you; just make sure you think carefully as you put together your workflow.
That said, my recommended culling approach is similar to the approach used by many enthusiasts and professional photographers (as I said above, it was developed through a lot of research), so if you don’t have strong preferences, I encourage you to try it out and see what you think.
Now, before I wade into the step-by-step approach, I want to explain the idea behind my culling workflow. To my mind, culling is really about selecting and rejecting images based on three key metrics:
- Technical qualities. Here, I’m referring to fundamental image attributes such as sharpness, focus, and exposure.
- Aesthetic qualities. The specifics can change depending on your aesthetic preferences and the purpose of the final images, but I’m referring to elements such as color, balance, harmony, visual flow, depth, and drama.
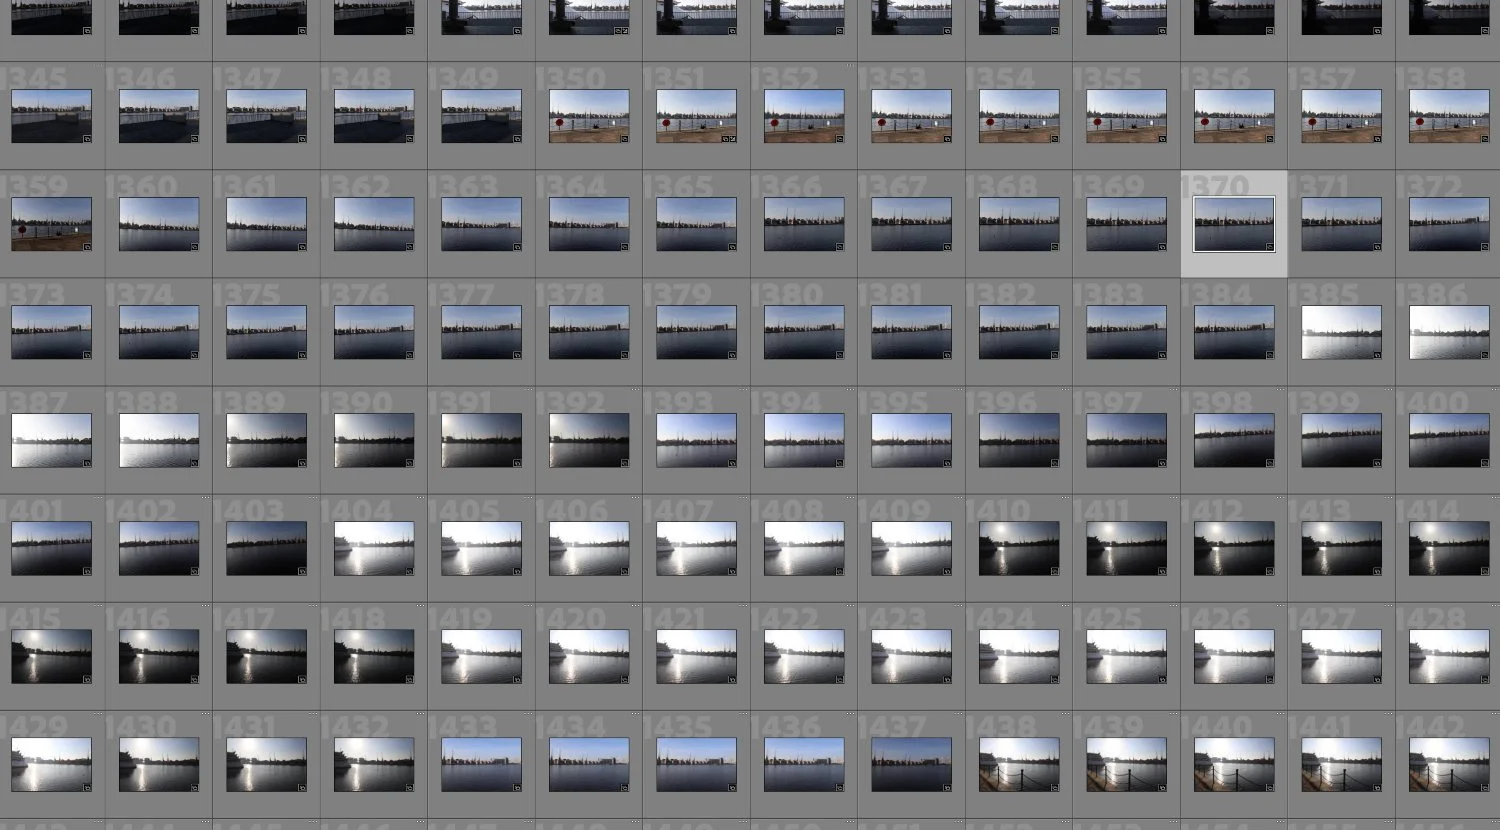
- Redundancy. Culling involves identifying your best photos, and in general, it’s important to weed out images that are (nearly) identical. You might have 10 technically perfect, aesthetically pleasing portraits of a specific person holding a flower, but if they’re all basically the same, it’s generally best to only choose one.
I’ll also add a fourth metric, which may or may not apply depending on the type of photography you do: storytelling (or event coverage). If you’ve photographed a destination wedding, for example, it’s a good idea to send your clients a set of images that cover the entire wedding, even if that means including some photos that aren’t quite as aesthetically impressive as the rest.
Anyway, as I cull, I like to keep these metrics in mind—I find it’s a helpful way to stay focused.
With that out of the way, let’s take a look at my culling approach:
Step 1: Do a Quick First Pass, Concentrating on Technical Qualities
When I have a new batch of images, I’ll start by loading the memory cards onto my computer and backing them up to my storage drives.
With that taken care of, I import them into my photo-management software.
Then I go through the entire batch at a high speed, only paying attention to my immediate impression of the photo’s technical qualities, as well as very basic aesthetic impressions. I like to think of this first pass as focused on the image’s usability. In other words, is the image decent enough that it would be reasonable to display to the world?
Images that appear usable at a first glance (even if they’re just borderline usable!) remain untagged.
Images that are blurry, poorly exposed, out of focus, or have serious composition issues get a Reject flag.
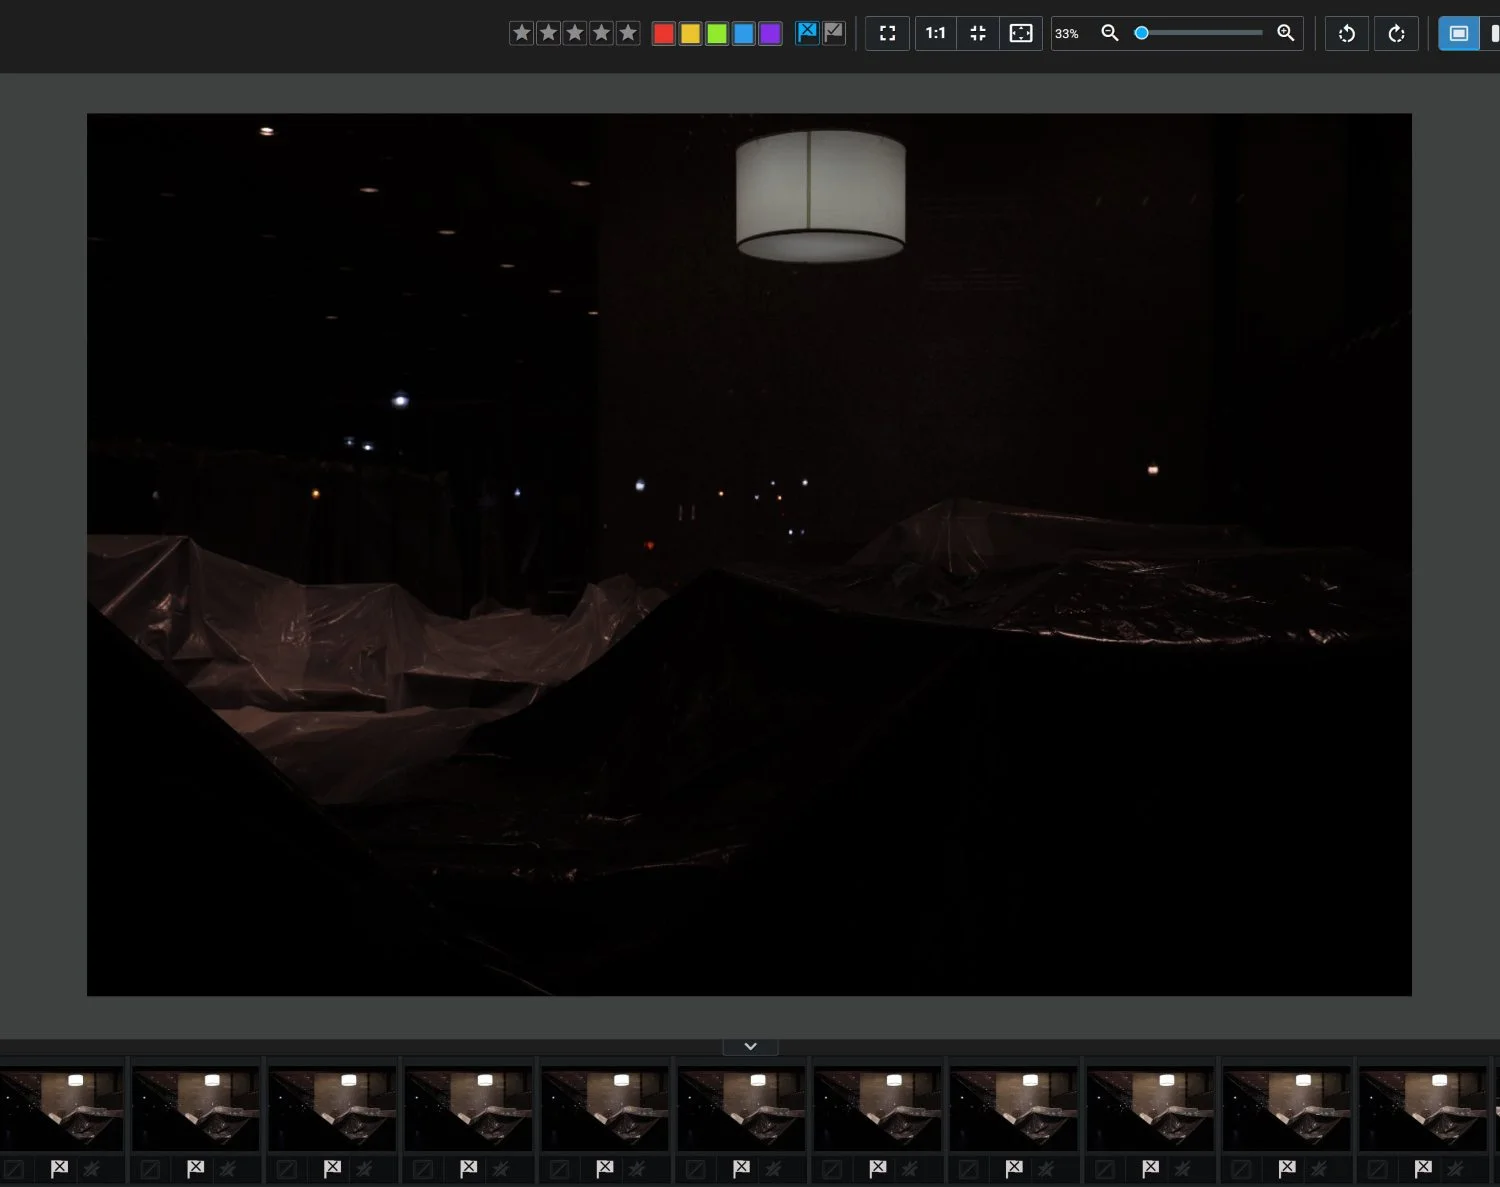
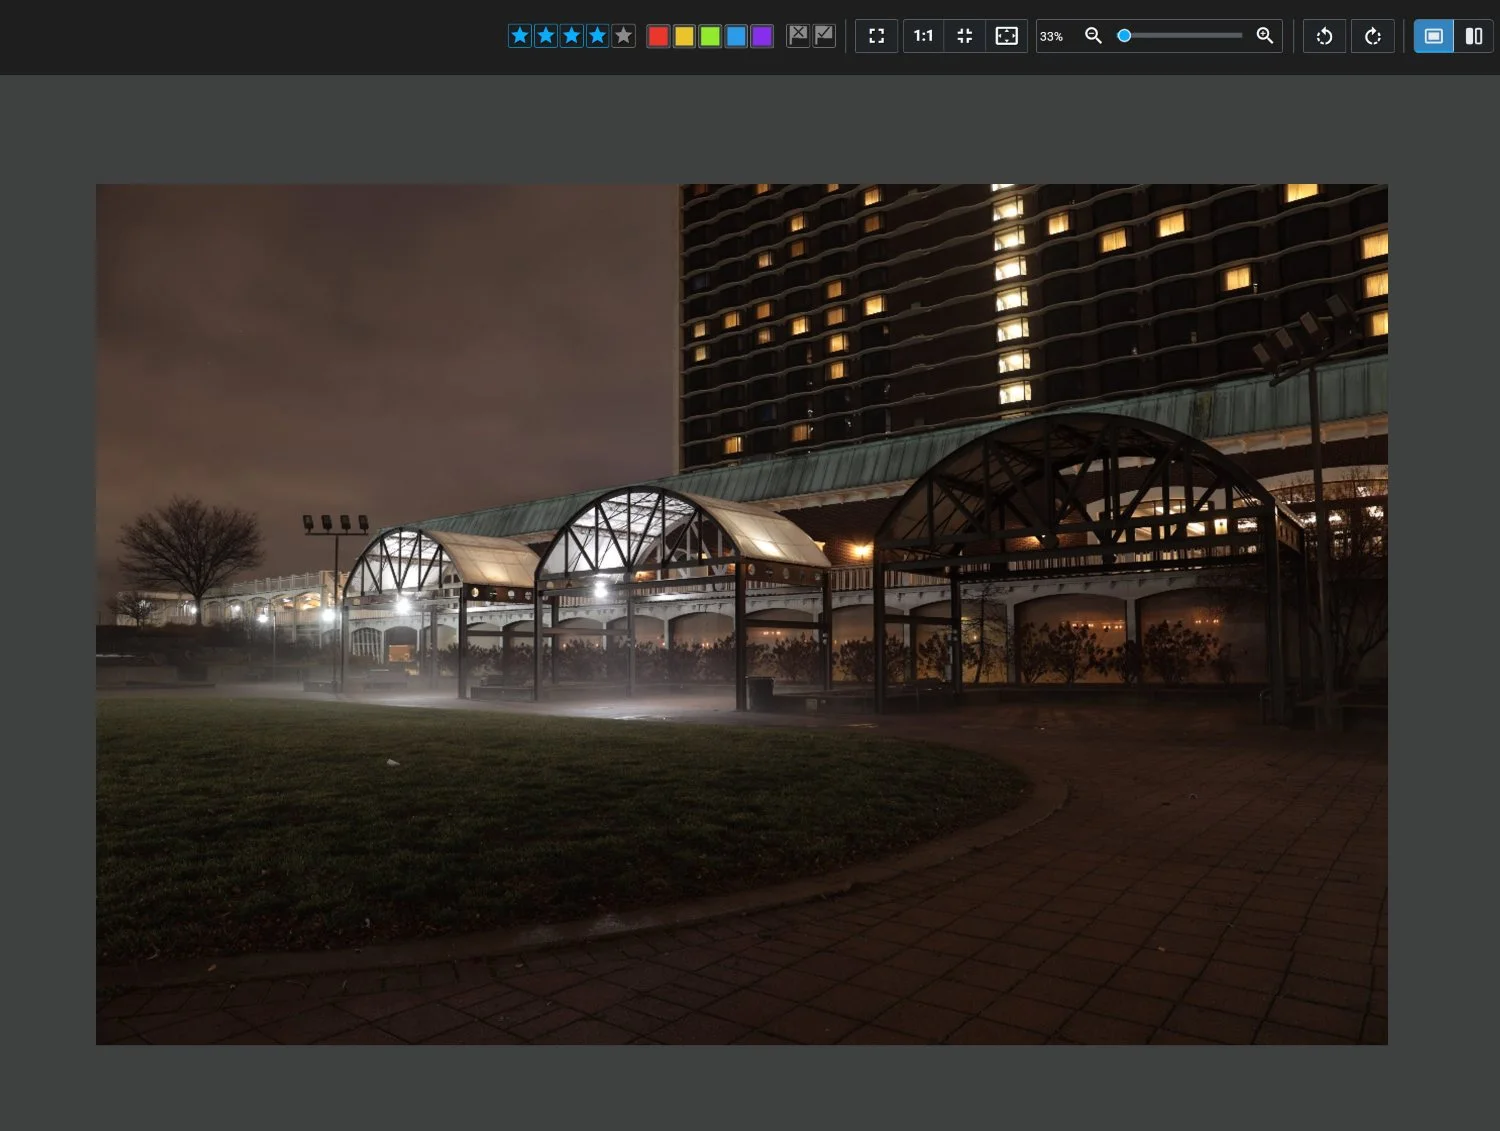
Evaluating focus and sharpness can be tough when working with smaller files, so I like to use a large desktop monitor with the image displayed as large as possible.
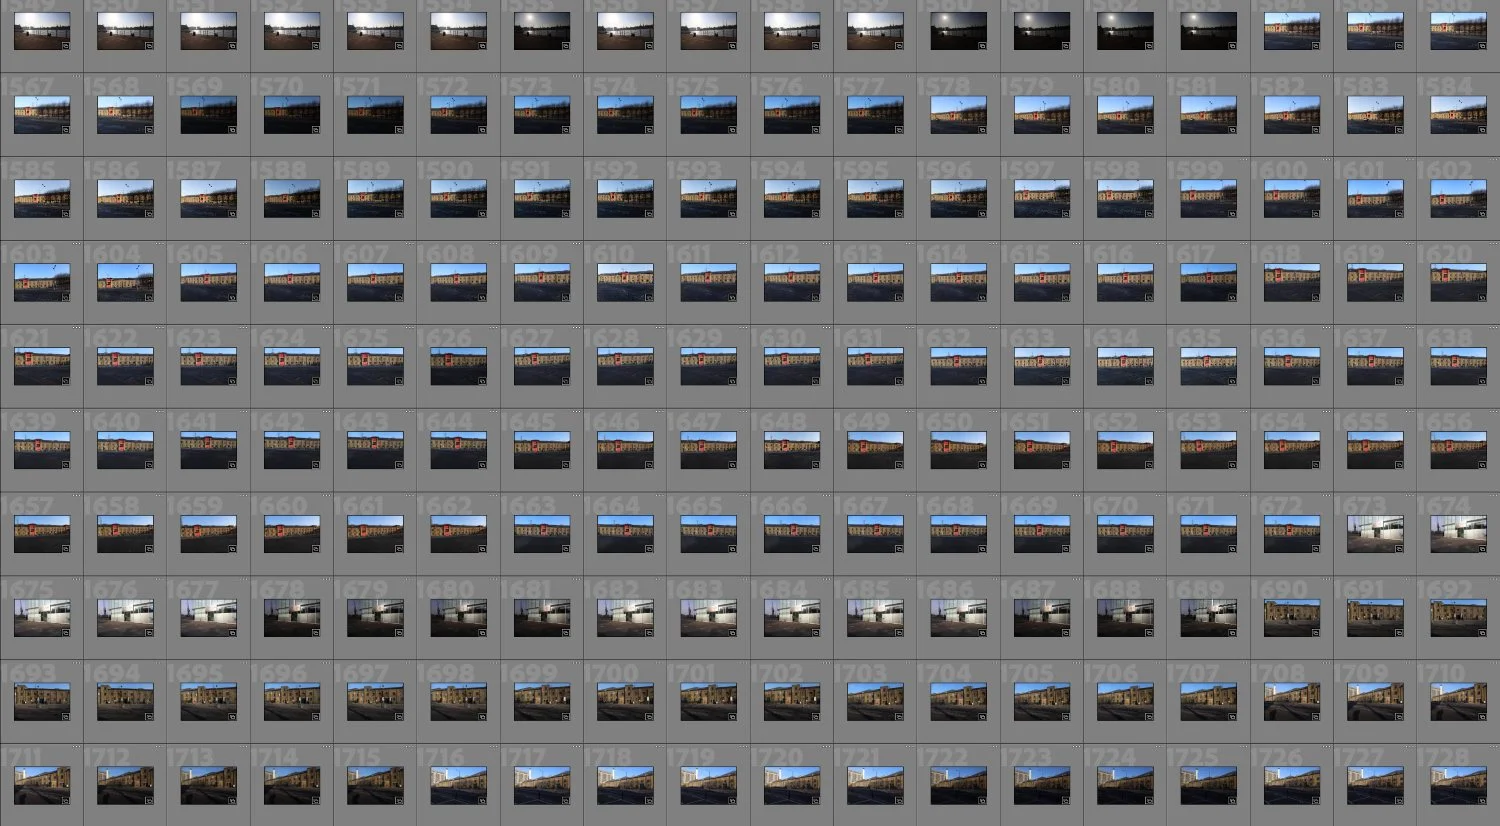
And I want to emphasize: During this first step in the selection process, speed is key. You’ll need to review a lot of images, which (I’ve found) requires a certain type of mental distancing. It may take a bit of practice, but as long as your photo-management program is fast, you’ll get to a point where you can zoom through hundreds of photos in a few minutes.
Then, with the first pass finished, I’ll filter out the images that have been rejected, and I’ll proceed with the next step:
Step 2: Do a Second Pass, Concentrating on Aesthetics
At the beginning of Step 2, all of my remaining images are technically decent, so now it’s time to focus on aesthetics.
For me, at least, this part of the culling workflow is a bit trickier. I find that aesthetic evaluation can take more time, and developing a distanced mindset can be tough (it’s something that I’m still working on!).
Therefore, during this pass, I don’t speed through, but I do my best not to linger on specific files. As I go, I’ll apply ratings.
If an image really strikes me as a keeper, I’ll give it a four or five star rating. (Color labels can work for this, too, but while I’ve experimented with the color approach, I always seem to come back to stars.)
And if I think an image could certainly be worthy of display but doesn’t blow me away, I’ll give it three stars.
Anything else I just ignore. Then I continue on to the final step:
Step 3: Create Your Final Selection, Concentrating on Redundancy
With two culling passes out of the way, I filter out the unstarred files. I’m left with a set of higher-quality images, all of which are deliverable and/or displayable, but I’m not quite done—I want to make sure I select my absolute best files without significant overlap from image to image.
What counts as significant? That depends on you, as well as your plans for the images. When culling my landscape photos, for instance, I like to select, at most, one photo for each general scene. But when I do fine-art architectural interiors, I tend to be a bit less narrow in my selection; instead of choosing one photo per building, or even per room, I just make sure that I never select two images of the same subject. And when I’m doing client-focused portrait work, I try to only select one photo for each “concept,” which generally corresponds to a pose plus a background.
So I do a final pass, this time with a focus on selecting one final image from each similar set, which I’ll mark with a Pick flag.
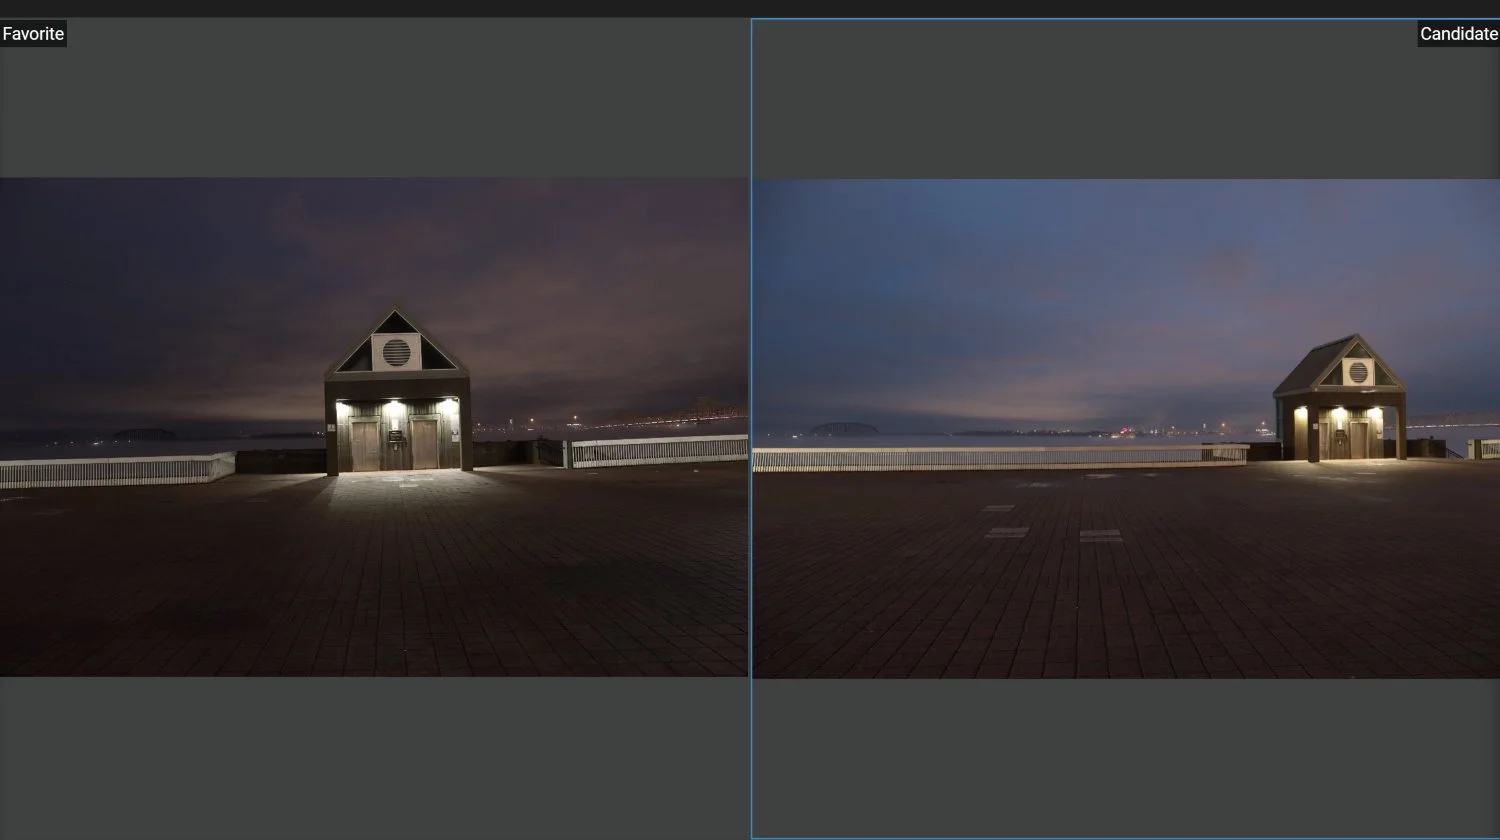
The star ratings can help a lot here. If I have several similar images with different ratings, I’ll often just pick the highest-rated one without any additional evaluation. And if there are multiple five-star (or four-star) images, then I’ll use my software’s comparison view to do a quick side-by-side review.
The trickiest part, for me, is deciding whether to display an image with three stars. My three-star photos aren’t especially strong, so I generally keep them out of the spotlight—but if I’m trying to tell the story of a trip, or an event, or a place, then I do sometimes add a Pick flag to three-star shots, simply because I want that additional storytelling coverage.
It really does depend on various factors, though: the purpose of the images, what I want to show, and even my mood at the time. I doubt that I’d ever cull the same set of photos the exact same way on two different days, and I think that’s okay.
Anyway, with that final pass out of the way, I’m left with a small selection of my best photos that are ready for editing! In other words, my culling process is complete.
How to Speed Up Your Photo Culling With AI
Up until now, I’ve only discussed manual culling processes. And for nearly all the time I’ve been photographing (15+ years now), I’ve kept my culling manual (though as I shared at the start of this post, I haven’t always had the best workflow!).
Recently, I’ve been tempted by software that uses artificial intelligence to do culling for me. Even though my manual workflow is pretty fast, it can still be a slog to go through so many images, and it takes up time that I’d rather spend out with my camera or with family.
I know that a lot of photographers are skeptical about AI’s ability to judge photos. I was, too. My thinking was that while an AI could develop excellent technical judgment, its aesthetic judgment likely wouldn’t match my own, which would make the results unusable.
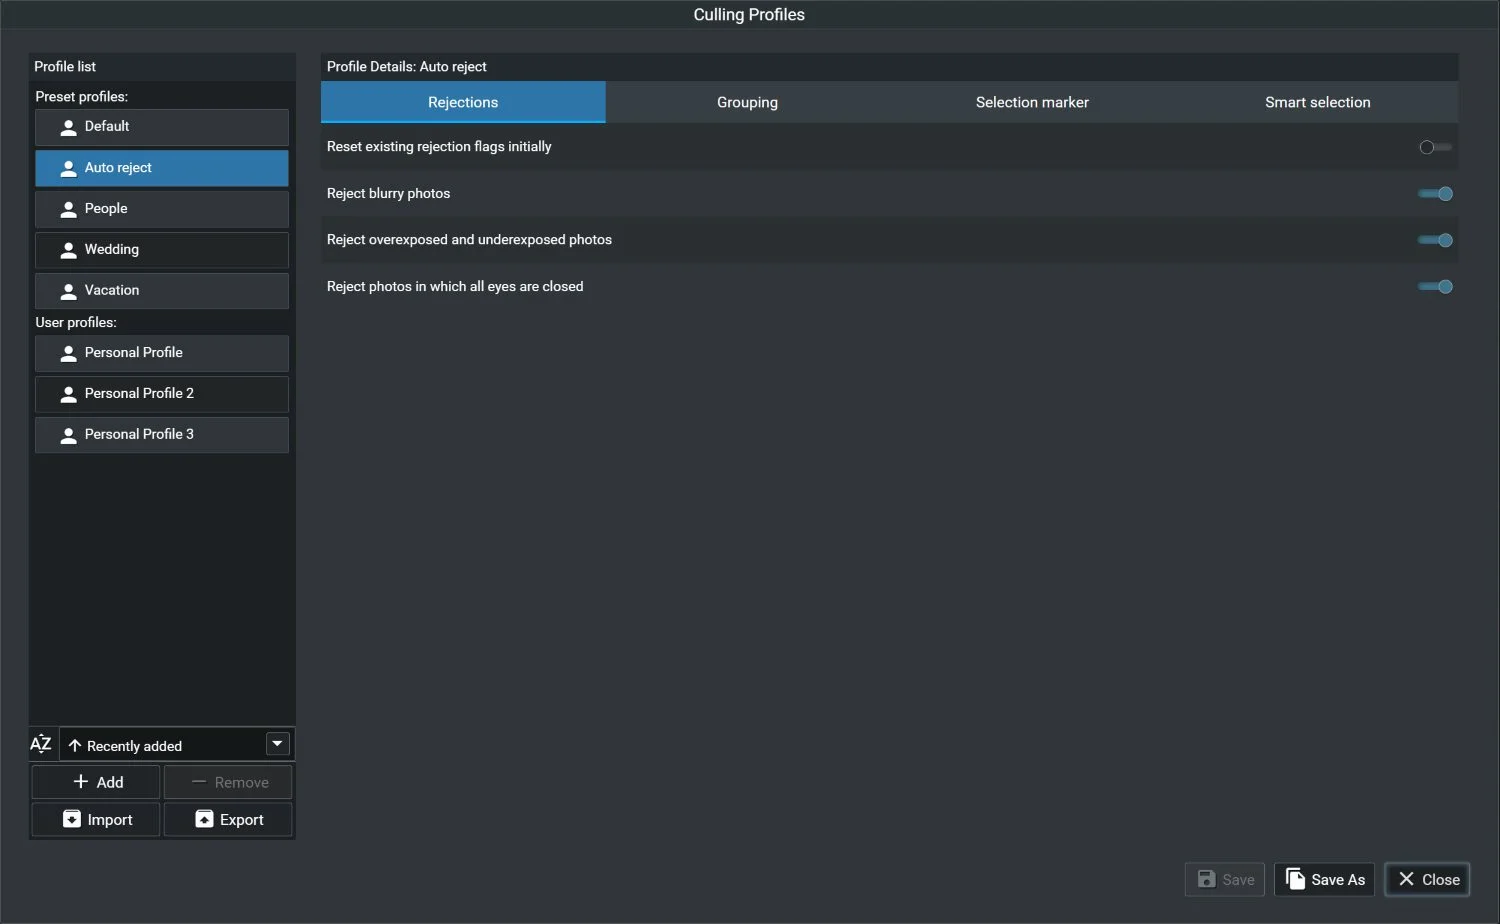
However, what I’ve learned is that AI culling is surprisingly flexible. There are a few different programs that offer AI culling, each with their own strengths and weaknesses and workflows, but the program that I’ve recently started using for AI-powered culling is Excire Foto 2025. Culling is a recent addition to Excire’s software, but I’ve now spent several months testing it out, and I really like what I’ve found.
How I Use Excire’s New AI-Assisted Culling Module
What sets Excire’s culling apart from the other AI options is the level of configurability: I can adjust the software’s parameters to ensure its AI culling technology integrates nicely within my existing workflow.
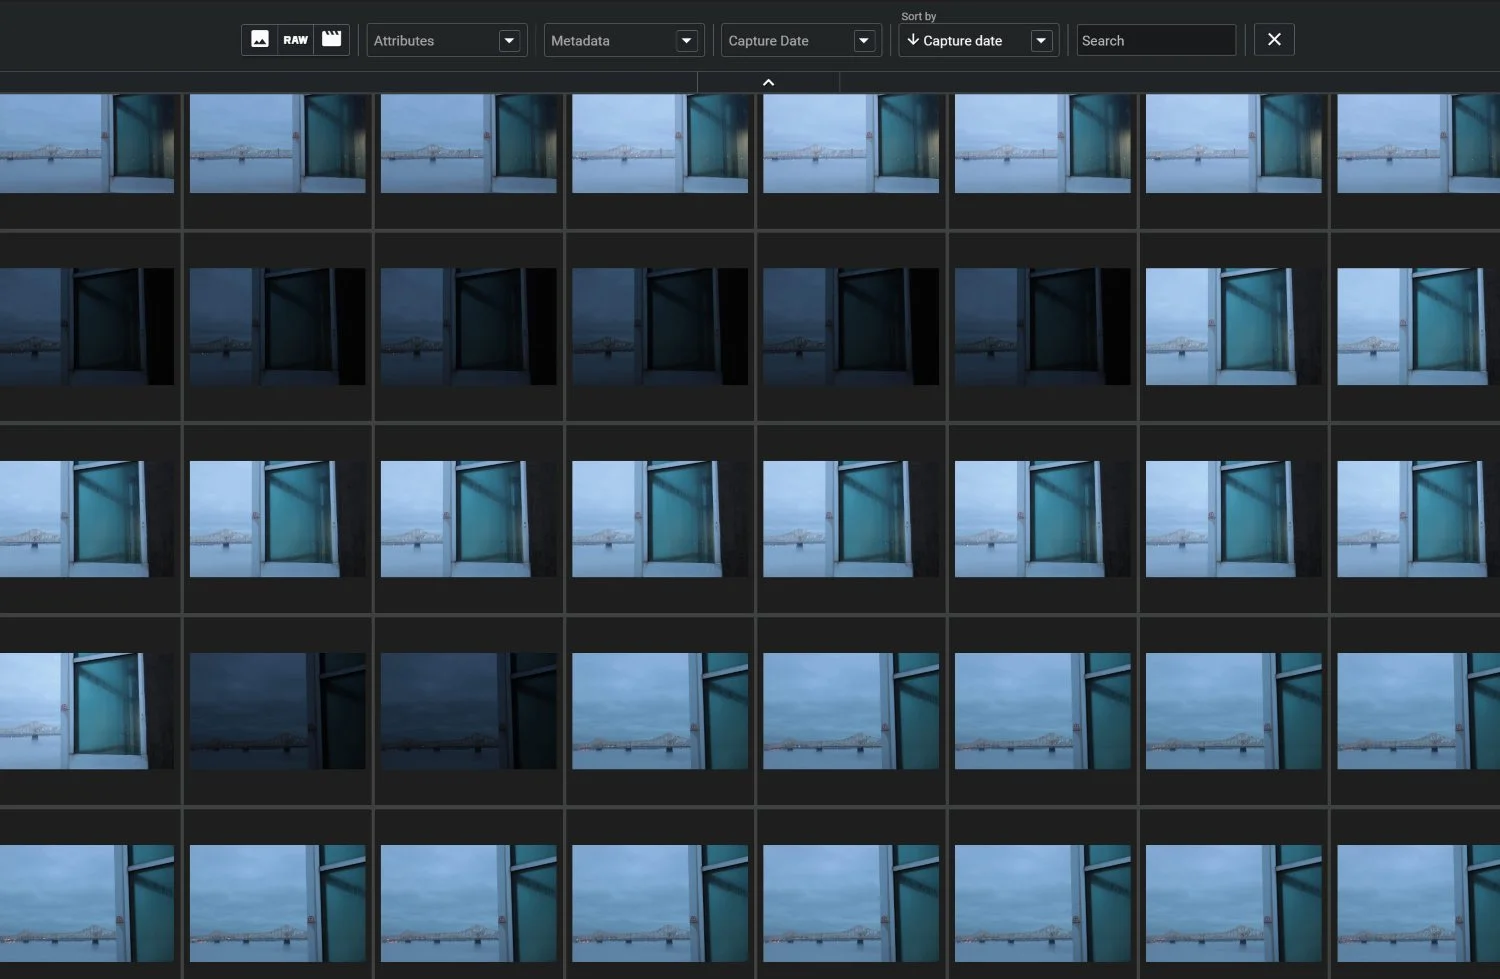
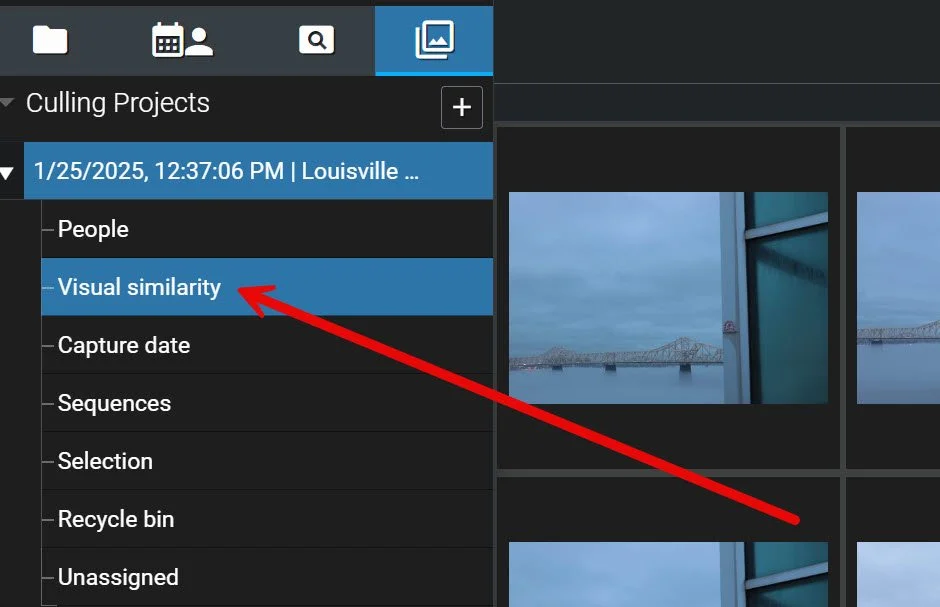
For instance, the Excire culling module allows me to sort huge batches of photos based on various types of sharpness (global sharpness, eye sharpness, and face sharpness). And it also allows me to sort entire photoshoots into groups of people (using facial-recognition technology) as well as visually similar images.
Then, once I’ve done the sorting and the grouping, I’m not stuck with the program’s top picks. I make the final selection, not Excire.
That way, I don’t have to spend so much time going through each and every photo, and instead of using a three-step culling workflow, I can cut it down to two steps (which are also much, much faster).
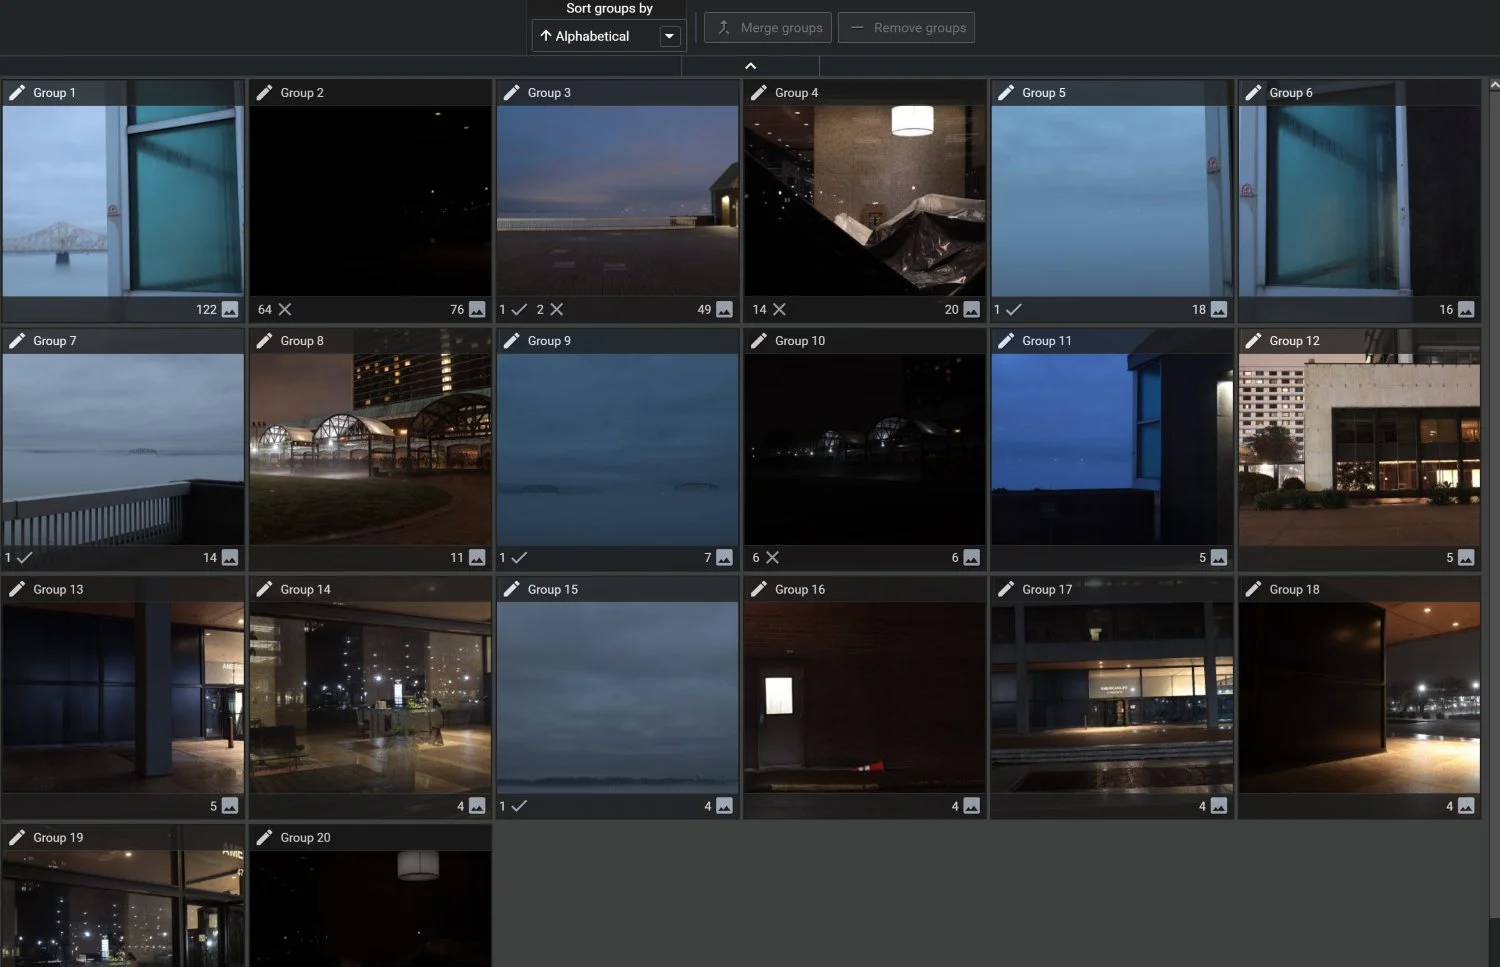
I’m still experimenting with different approaches, but I’ll often start by instructing Excire to apply Reject flags to all overexposed and underexposed images, as well as all blurry photos, and to categorize photos based solely on visual similarity. That way, I have all similar images sorted into groups, and many of the technically imperfect photos are already flagged.
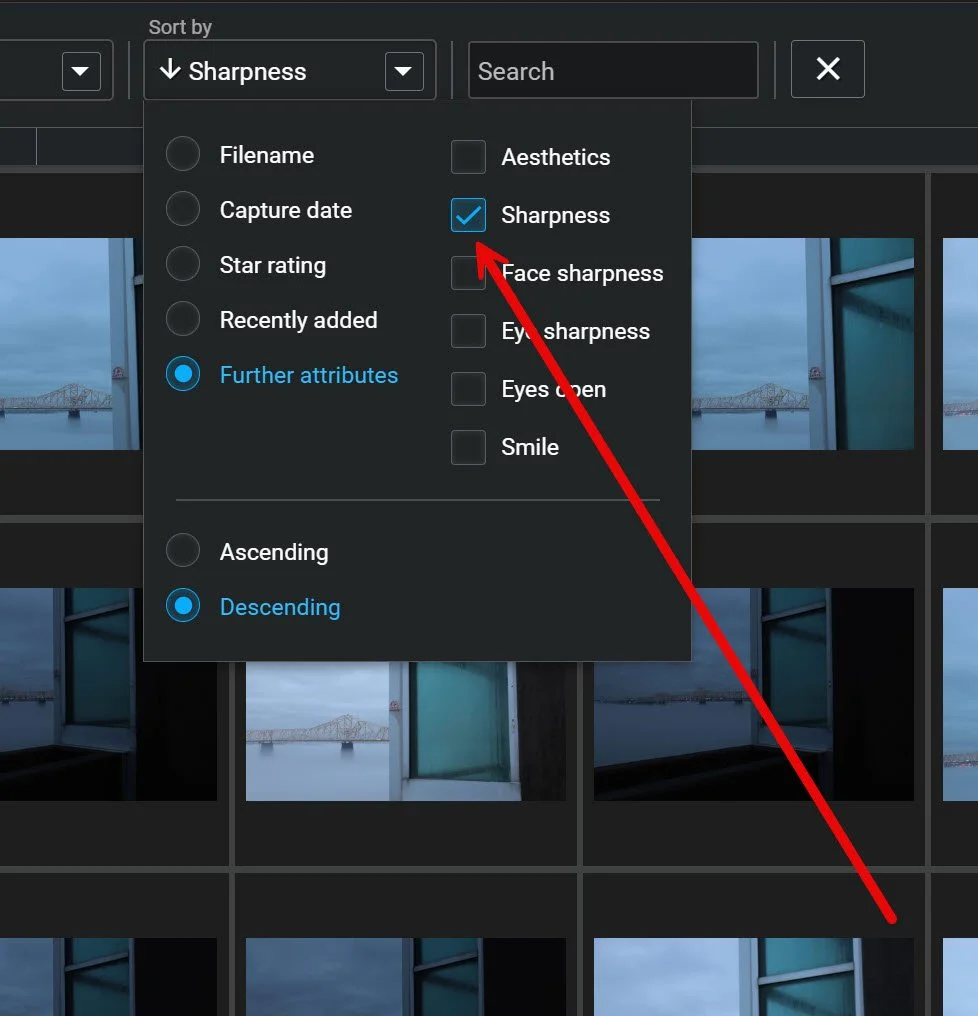
Then I’ll click on the first similar group, making sure to sort by Further Attributes>Sharpness.
Since Excire’s AI has identified the sharper photos and rejected the technically poor ones, I’ve found that I don’t really need to do that first “technical” pass; instead, I just go through the set of visually similar images and add 3-star and above ratings to my favorites while ignoring any images that already have a Reject flag.
Then I’ll move to the next group, and the next, and the next. (Excire has some useful keyboard shortcuts, so this is lightning fast!)
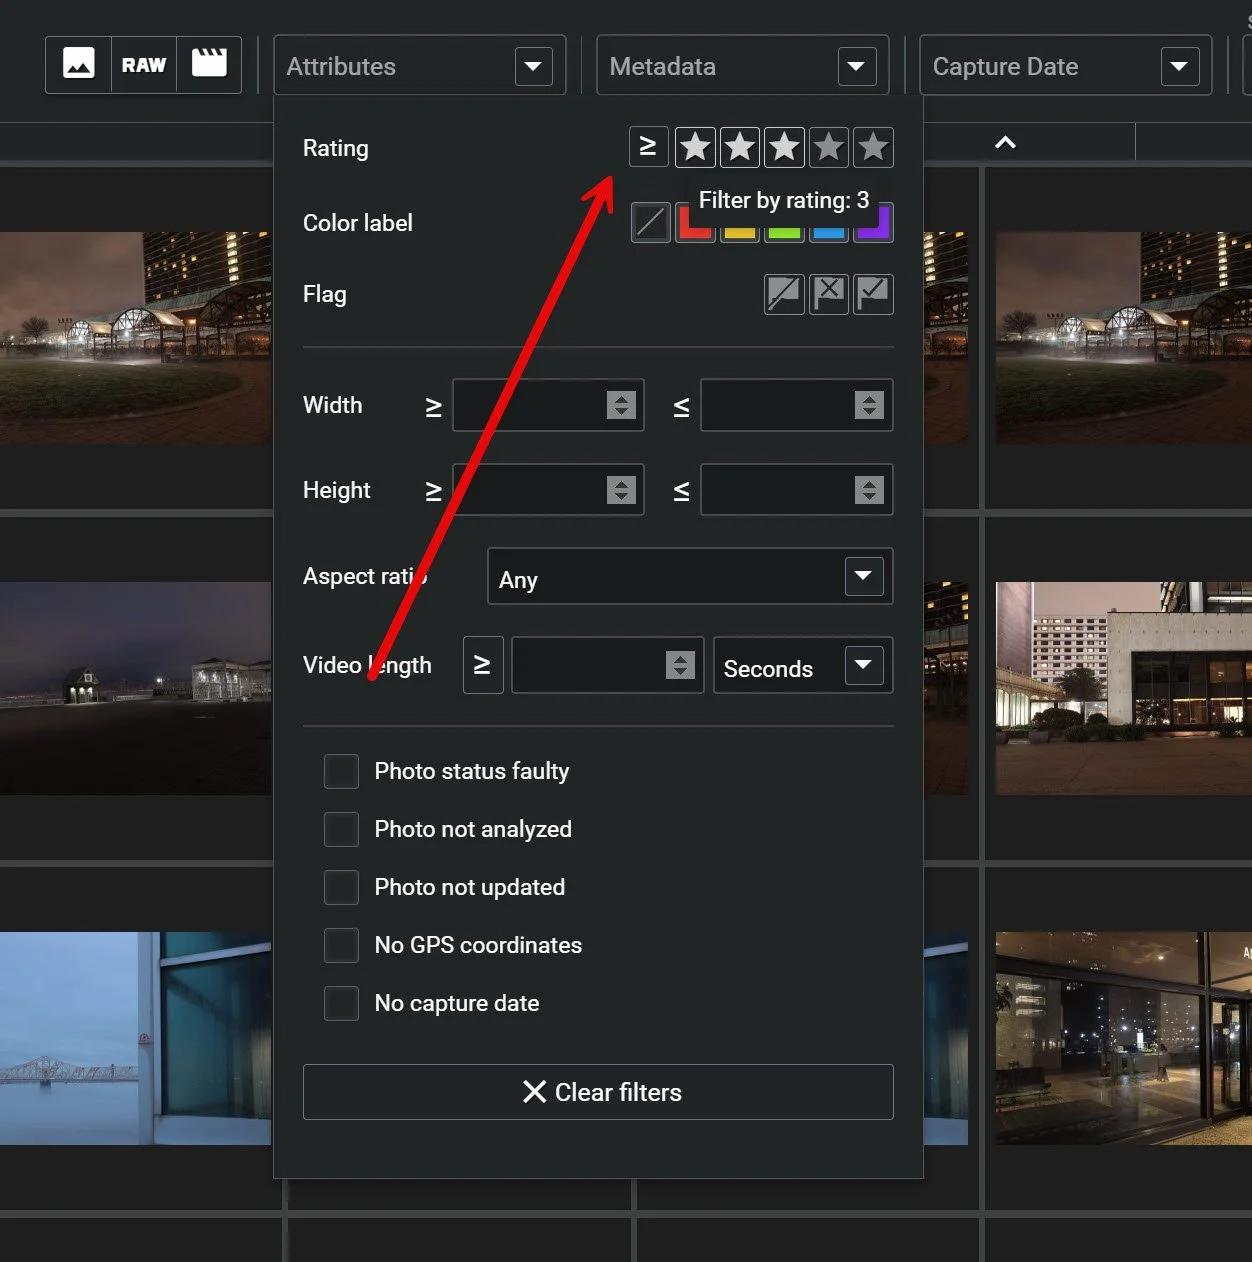
Once I’ve gone through each set of visually similar files, I’ll go back to the main view of my image batch. I’ll filter the set so that only the images with three stars and above are visible:
And I’ll make sure they’re sorted in chronological order, too.
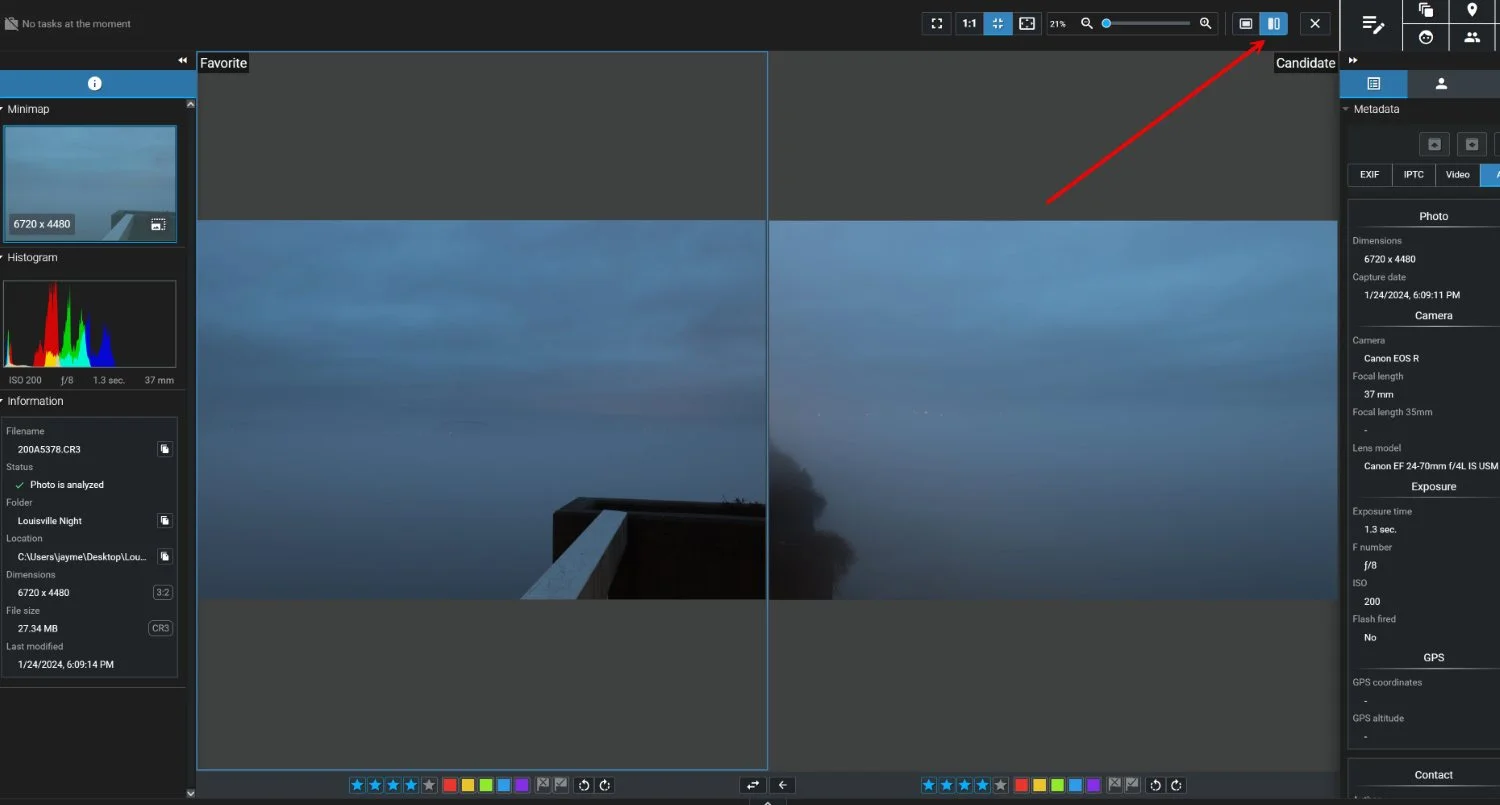
Then I’ll double-click on the first photo and use Excire’s Compare View option to go through at a fast pace while applying Pick flags to my absolute favorites.
Once I’m done, Excire will have automatically added my favorites to the Selection bin, which I’ll generally export as original files for editing!
I’ve found that this type of workflow speeds up my culling process enormously. And what’s really cool is that because Excire is so flexible, you can configure it to work however you need it to. Excire’s AI culling feature even includes the option to have the software make selections automatically for you. In other words, once you become more familiar with how it all works, you can decide whether you want the AI to do more of the heavy lifting!
(And by the way: If you want to try Excire Foto 2025’s AI culling tools for yourself, you can always grab a 14-day free trial right here.)
Practical Tips for Improving Your Image-Selection Process
Hopefully, you can now see the value of culling, and you’re ready to save some time and effort, whether that’s by streamlining your manual workflow or adding in some AI assistance.
But before I conclude this article, I want to share a few quick tips that I’ve picked up over the years, which are designed to help you cull more effectively while also getting more out of the photo-selection process.
1. Learn Your Keyboard Shortcuts
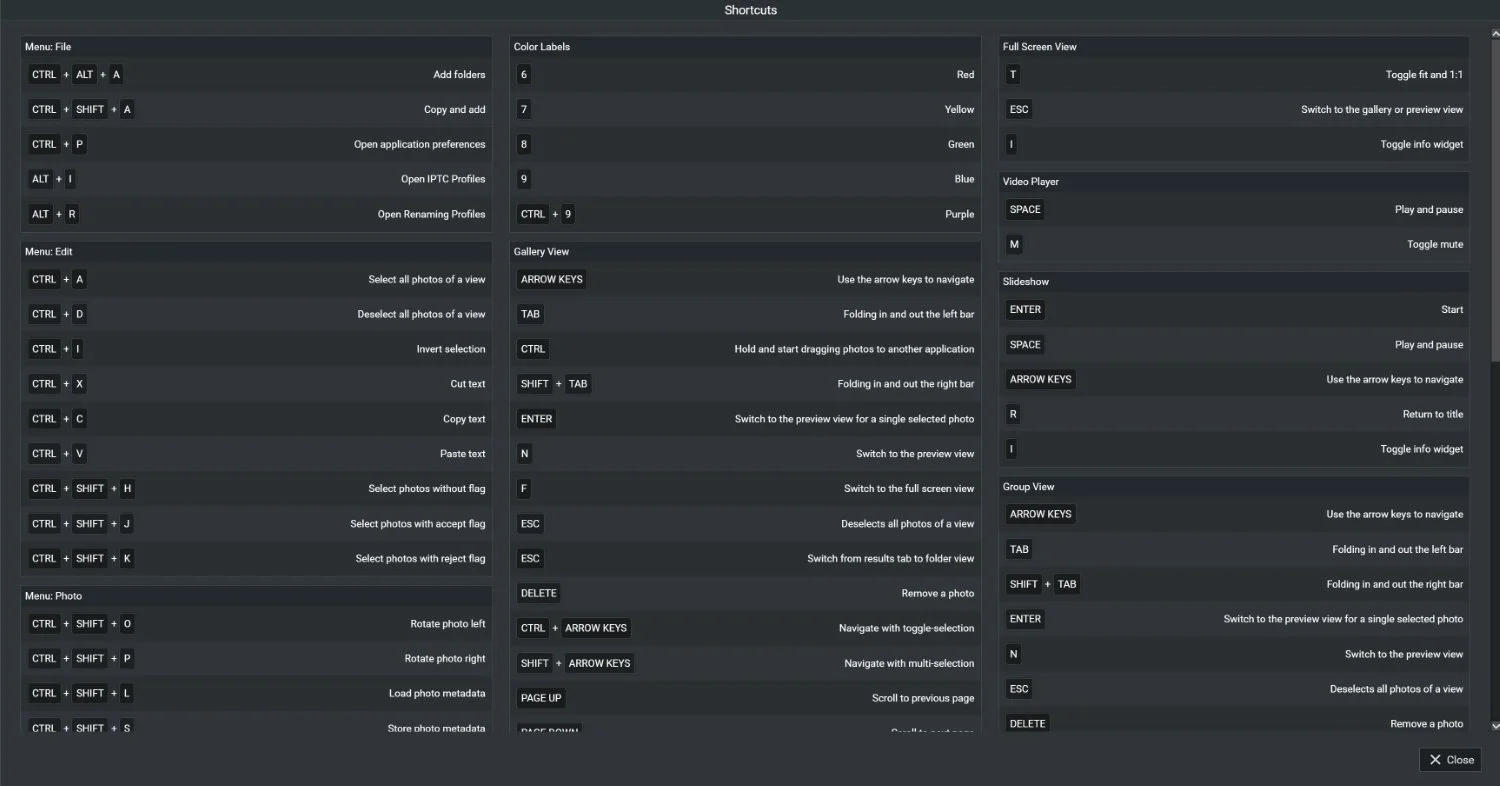
Practically every photo manager includes keyboard shortcuts, and I know from experience that these shortcuts make any type of manual culling process so much faster.
For instance, you can often apply Pick flags by pressing P on your keyboard, and you can often apply Reject flags by pressing X.
Plus, stars and color labels are often mapped to numbers. In the two programs I use most often, Excire Foto and Adobe Lightroom Classic, pressing a number from 1-5 adds the corresponding star rating, while pressing a number from 6-9 adds a color label.
Excire Foto’s culling module also offers a handy shortcut for advancing quickly from one group of images to the next: Just press CTRL/CMD+SHIFT and use the right and left arrow keys.
So put some real effort into learning these shortcuts. While it might take a bit of practice at the beginning, it’ll save you a surprising amount of time down the line!
2. Keep the Image’s Purpose in Mind
When I’m giving my photos star ratings, or when I’m struggling to decide between multiple images at the end of my culling workflow, I’ve found that it can often be helpful to take a breath and think about the end result.
In other words, I ask myself: Why am I culling these photos? What are they for?
If I’m selecting fine-art nature images for social media, then I feel free to choose based primarily on aesthetic sensibilities. But if I’m trying to document a particular place or event, then I might rate certain storytelling images higher than I would otherwise—and if I’ve taken product photos, I may focus less on aesthetics and more on showcasing the item.
Basically, if you can always be mindful of why you’re culling that particular batch of images, you’ll have a much easier time.
3. Review Your Rejects
This tip isn’t so much about the culling process itself; instead, it’s about improving your work in the long-term.
Throughout this article, I’ve emphasized the value of efficiency when culling. And indeed, the faster you can cull, the more time you can spend on more exciting tasks.
But I’ve also found that reviewing my failed images helps me grow as a photographer. So every so often, I like to go back to older batches of images, and I’ll take a look at the files that I rejected.
I’ll ask myself: Why didn’t these images work? Is there a consistent pattern to my failures?
If the problem is technical, then maybe I’ll make mental (or physical) notes to help me improve. More often than not, however, the problem is aesthetic. These issues can be more difficult to diagnose, but I think it’s still a good practice, and I’ll often spend a few minutes staring at my most interesting “failed” images, just trying to understand what could have made them better, what I could do differently the next time.
I don’t always come up with a good takeaway, but sometimes I do (which is a wonderful feeling!). And even if I don’t have a clear takeaway, I find that the solution to an aesthetic problem can develop over time, so that with each new set of failed images, I become closer to understanding and correcting the issue.
In certain cases, this review process has been genuinely transformative for me, and I’ve been able to take a huge step forward in my photographic skills.
4. When in Doubt, Show Less
This culling tip may not always apply to your work, since it depends on the purpose for the images (see Tip #2!).
But in my experience, if you’re not sure whether certain images deserve to be included in the final selection, it’s better just to leave them out.
For me, at least, uncertainty about an image is a subtle indicator that it’s probably not quite there. Maybe I’m attached to the photo for sentimental reasons, but the aesthetic quality is below what I’d usually demand of myself. Or maybe I subconsciously recognize that the composition doesn’t quite work, but I’m struggling to look past beautiful lighting or an excellent subject.
It’s tough to know what to do in these cases, but here’s what I know: When I include these “borderline” images in my final selection, I usually regret it later on.
Of course, everyone is different, and there’s always the possibility that you’ll regret not including certain images in your final selection.
But in my experience, choosing fewer images is generally better. And if you’re struggling to be as critical as you need to be, this last tip might help:
5. Remember That You Can Always Come Back
I often put a lot of pressure on myself to pick the absolute best images during my photo-selection process, and I worry about accidentally rejecting photos that deserve to be seen.
And as I said in the previous tip, I like to err on the side of rejection. In other words, if I’m not sure whether a photo should make it into the final set, I try to leave it out.
But then I start to worry: What if, as a result of my quick judgment, I leave out an image that deserves to be seen?
That’s when I have to remind myself:
Culling doesn’t have to be final.
I can always come back down the line and reevaluate. I can rediscover images that I’ve missed, or photos that didn’t work given my purposes at the time but that deserve to see the light of day.
Of course, coming back to an old batch of images takes time and effort, but knowing that I can come back—even if I won’t—helps alleviate the pressure.
(As an aside, I’ve found that Excire Foto is great for rediscovering old images that I overlooked. Tools like prompt search, similarity search, and keyword search allow me to sift through hundreds of thousands of images, including many of the files I rejected previously!)
Cull More Efficiently Than Ever Before!
Well, there you have it:
A comprehensive guide to all things culling in photography!
I shared my own culling workflow, I offered my best tips and tricks for easy photo selection, and I explored the value of AI and its potential to make your life far easier.
So now it’s your turn. Fire up your image-management program, import your most recent batch of photos, and get some culling done, fast!